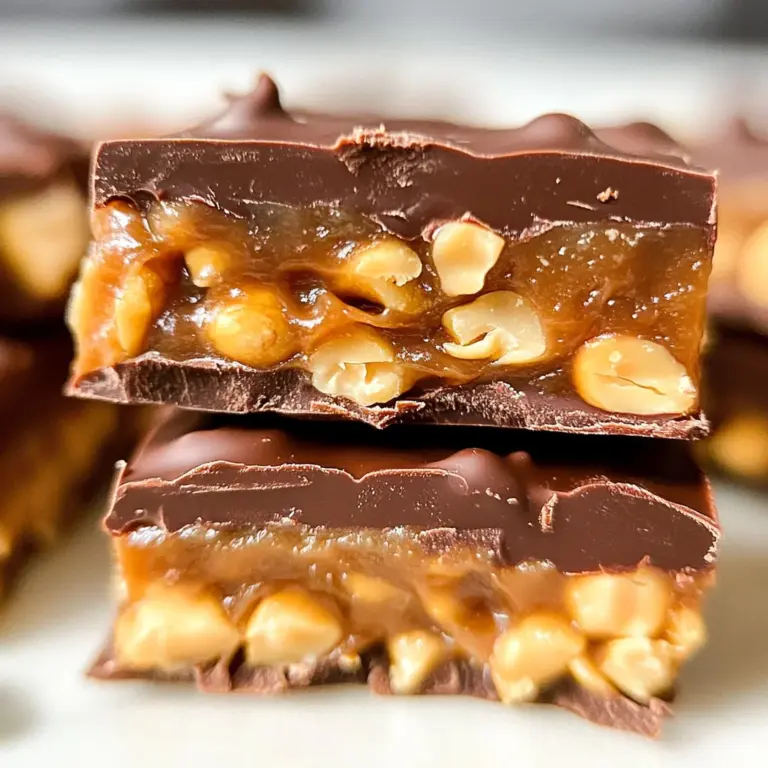
Sugar Free Condensed Milk
Elevate your dessert game with my sugar free condensed milk recipe! This creamy, sweet treat is perfect for various occasions like baking or adding to your favorite beverages. Made with just three key ingredients, it provides all the flavor without the sugar. At only 1 gram of carbs per serving, it’s an ideal choice for those following low carb or keto diets.
Why You’ll Love This Recipe
- Quick and Easy: With minimal ingredients and straightforward instructions, you can whip up this sugar free condensed milk in no time.
- Versatile Use: Perfect for coffee, desserts, or as a base for other recipes, this condensed milk fits seamlessly into many dishes.
- Rich Flavor: Despite being sugar-free, it has a rich and creamy taste that rivals traditional sweetened condensed milk.
- Low Carb Friendly: With just 2 grams of carbs per serving, this recipe is suitable for low carb and keto lifestyles.
- Customizable Sweetness: You can choose your preferred granulated sweetener to adjust the sweetness level to your taste.
Tools and Preparation
To make this delicious sugar free condensed milk, you’ll need a few basic kitchen tools. Having these handy will make your preparation smooth and efficient.
Essential Tools and Equipment
- Small saucepan
- Measuring cups
- Stirring spoon
- Glass jar or container
Importance of Each Tool
- Small saucepan: A good quality saucepan ensures even heating, which is crucial for achieving the right consistency in your condensed milk.
- Measuring cups: Accurate measurements are essential for balancing flavors and achieving the perfect texture in your recipe.
- Stirring spoon: A sturdy spoon helps you mix the ingredients well and prevents them from sticking to the bottom of the pan during cooking.
Ingredients
For the Sugar Free Condensed Milk
- 2 1/2 cups heavy cream
- 1/4 cup butter
- 3/4 cup granulated sweetener of choice (see notes)
- 1/2 teaspoon vanilla extract (optional)
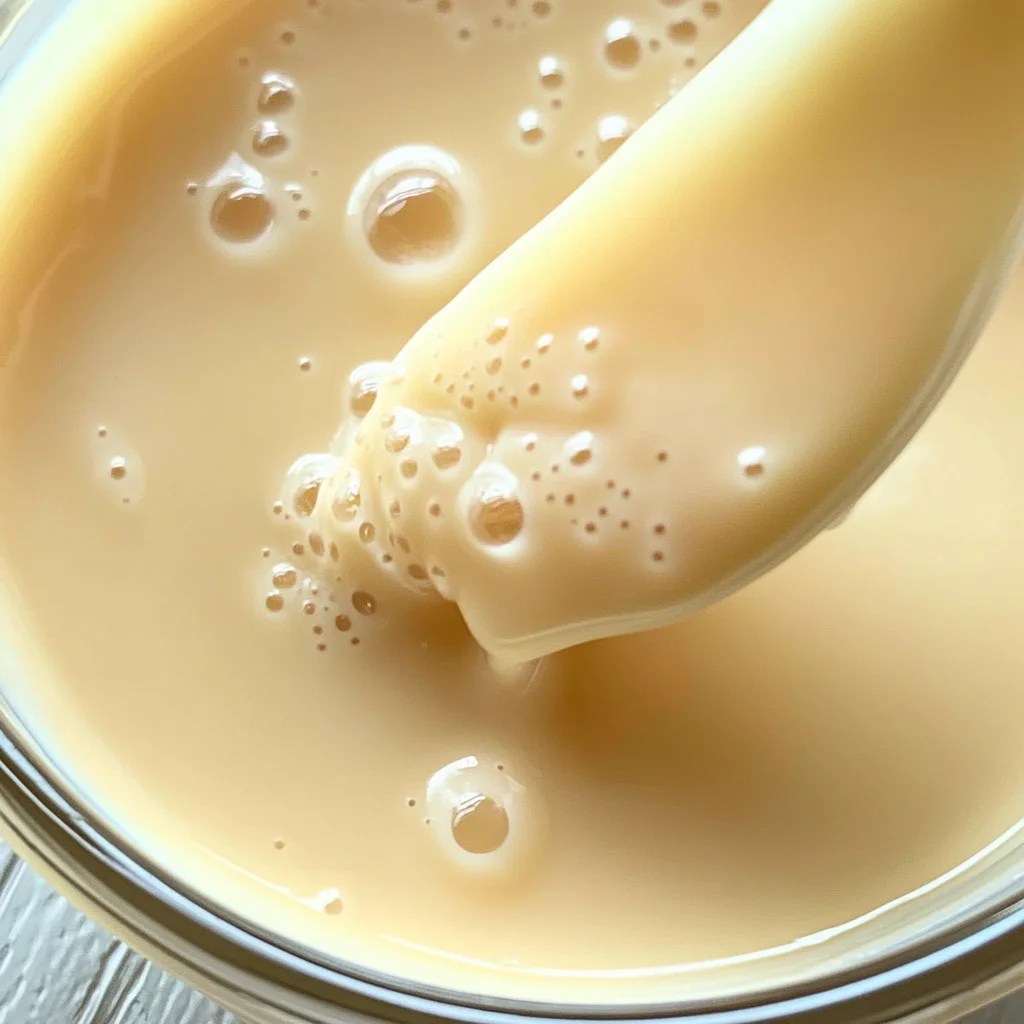
How to Make Sugar Free Condensed Milk
Step 1: Combine Ingredients
- Add the heavy cream, butter, granulated sweetener, and optional vanilla extract into a small saucepan.
Step 2: Heat Mixture
- Over medium heat, bring the mixture to a boil.
- Stir regularly until it begins to simmer.
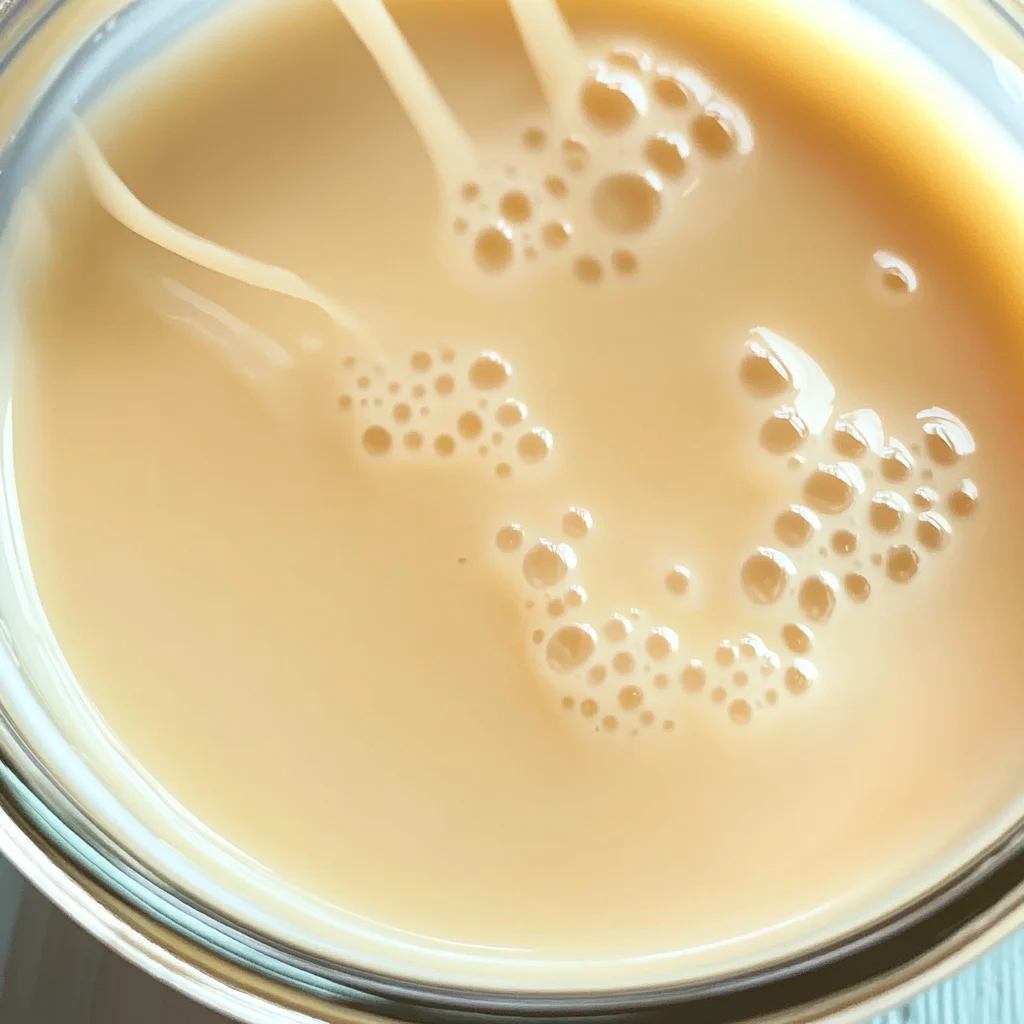
Step 3: Simmer
- Once it begins to simmer, reduce the heat to very low.
- Let the mixture simmer for around 45 minutes while stirring occasionally.
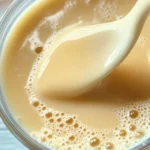
Step 4: Cool Down
- Remove from heat and allow it to cool completely.
- Once cool, transfer into a glass jar or container and refrigerate.
Enjoy your homemade sugar free condensed milk in your favorite recipes!
How to Serve Sugar Free Condensed Milk
Sugar free condensed milk is a versatile ingredient that can enhance many desserts and dishes. Whether you are drizzling it over fruit or incorporating it into a recipe, the options are endless.
Drizzle Over Fresh Fruit
- Strawberries: Slice fresh strawberries and drizzle sugar free condensed milk for a sweet treat.
- Bananas: Add sugar free condensed milk on banana slices for extra creaminess.
Use in Coffee or Tea
- Coffee: Stir sugar free condensed milk into your morning coffee for a rich, creamy flavor.
- Tea: Enhance your tea with a splash of sugar free condensed milk for added sweetness.
Incorporate into Desserts
- Puddings: Mix sugar free condensed milk into your favorite pudding recipes for added creaminess.
- Ice Cream: Blend with yogurt to create a low-carb ice cream alternative.
As a Topping
- Pancakes: Pour sugar free condensed milk over pancakes instead of syrup for a unique twist.
- Waffles: Use as a topping on waffles to add richness without the sugar.
How to Perfect Sugar Free Condensed Milk
Making sugar free condensed milk can be simple, but these tips will ensure you get the best results every time.
- Use high-quality ingredients: Choose fresh heavy cream and high-quality sweeteners for the best flavor.
- Monitor heat closely: Keep an eye on the heat level while cooking to prevent burning or separation.
- Stir regularly: Frequent stirring helps achieve a smooth texture without lumps.
- Cool completely before storing: Allow the mixture to cool down fully so it thickens properly as it chills.
- Experiment with flavors: Try adding different extracts like almond or coconut for unique twists.
Best Side Dishes for Sugar Free Condensed Milk
Pairing sugar free condensed milk with the right side dishes can elevate your meal. Here are some excellent options to consider:
- Fruit Salad: A refreshing mix of seasonal fruits pairs perfectly with sweetened condensed milk.
- Chia Seed Pudding: Combine with chia seeds and almond milk for a nutritious dessert option.
- Coconut Macaroons: These chewy treats go wonderfully with a drizzle of sugar free condensed milk.
- Cheesecake Bites: Serve mini cheesecakes topped with sugar free condensed milk for a delightful treat.
- Nutty Granola Bars: Add to granola bars for an extra layer of sweetness without added sugars.
- Low-Carb Muffins: Serve warm muffins topped with sugar free condensed milk for an indulgent breakfast.
Common Mistakes to Avoid
Making sugar free condensed milk can be straightforward, but there are common pitfalls to watch out for.
- Using the wrong sweetener: Not all sweeteners work well in this recipe. Stick to granulated sweeteners like allulose or erythritol for the best results.
- Overheating the mixture: If you cook it too quickly, the milk might burn. Always use medium heat and stir regularly to ensure even cooking.
- Not allowing enough simmer time: Rushing the simmer process can result in a runny texture. Let it simmer for the full 45 minutes to thicken properly.
- Skipping the cooling step: Transferring the hot mixture directly to a jar can create condensation, affecting its consistency. Allow it to cool completely before storing.
- Ignoring storage guidelines: Improper storage can lead to spoilage. Make sure you store your sugar free condensed milk in an airtight container in the refrigerator.
Storage & Reheating Instructions
Refrigerator Storage
- Store in an airtight container for up to 1 week.
- Use glass jars for best preservation of flavor and consistency.
Freezing Sugar Free Condensed Milk
- Freeze in small portions using ice cube trays or freezer-safe bags.
- It will last up to 3 months in the freezer.
Reheating Sugar Free Condensed Milk
- Oven: Preheat to 350°F (175°C) and heat in an oven-safe dish until warmed through.
- Microwave: Heat in short intervals (about 15-20 seconds), stirring between each interval to prevent overheating.
- Stovetop: Warm gently over low heat while stirring continuously until heated evenly.
Frequently Asked Questions
Here are some common questions about sugar free condensed milk that may help clarify its use and benefits.
What is Sugar Free Condensed Milk?
Sugar free condensed milk is a creamy, sweet alternative made without traditional sugars, perfect for low-carb diets.
How do I use Sugar Free Condensed Milk?
You can use it in desserts, coffee, or as a topping for various treats. Its versatility makes it a great addition to many recipes.
Can I substitute regular condensed milk with Sugar Free Condensed Milk?
Yes! You can substitute it directly in recipes calling for regular condensed milk without sacrificing flavor or texture.
How long does Sugar Free Condensed Milk last?
When stored properly in the refrigerator, it lasts about one week. For longer storage, freeze it for up to three months.
Final Thoughts
This sugar free condensed milk recipe is not only simple but also deliciously versatile. You can customize it with different flavorings or sweeteners based on your preference. Give this recipe a try; you’ll love having a guilt-free treat on hand!
Sugar Free Condensed Milk
Elevate your dessert creations with this easy and delicious sugar free condensed milk recipe! Perfect for low-carb and keto enthusiasts, this creamy alternative to traditional sweetened condensed milk is made from just three simple ingredients. With a rich flavor and only 1 gram of carbs per serving, it’s an ideal addition to your favorite desserts, coffees, or even as a topping for fresh fruits. Whether you’re baking or looking for a guilt-free treat, this versatile recipe will quickly become a pantry staple. Enjoy the creamy indulgence without the sugar!
- Prep Time: 5 minutes
- Cook Time: 45 minutes
- Total Time: 50 minutes
- Yield: Approximately 12 servings 1x
- Category: Dessert
- Method: Stovetop
- Cuisine: American
Ingredients
- 2 1/2 cups heavy cream
- 1/4 cup butter
- 3/4 cup granulated sweetener of choice (like erythritol or allulose)
- 1/2 teaspoon vanilla extract (optional)
Instructions
- In a small saucepan, combine heavy cream, butter, granulated sweetener, and optional vanilla extract.
- Heat over medium until it boils; stir regularly until it simmers.
- Reduce heat to very low and let simmer for about 45 minutes, stirring occasionally.
- Remove from heat and let cool completely before transferring to an airtight container for refrigeration.
Nutrition
- Serving Size: 2 tablespoons (30g)
- Calories: 120
- Sugar: 0g
- Sodium: 10mg
- Fat: 12g
- Saturated Fat: 7g
- Unsaturated Fat: 4g
- Trans Fat: 0g
- Carbohydrates: 2g
- Fiber: 0g
- Protein: 0g
- Cholesterol: 40mg