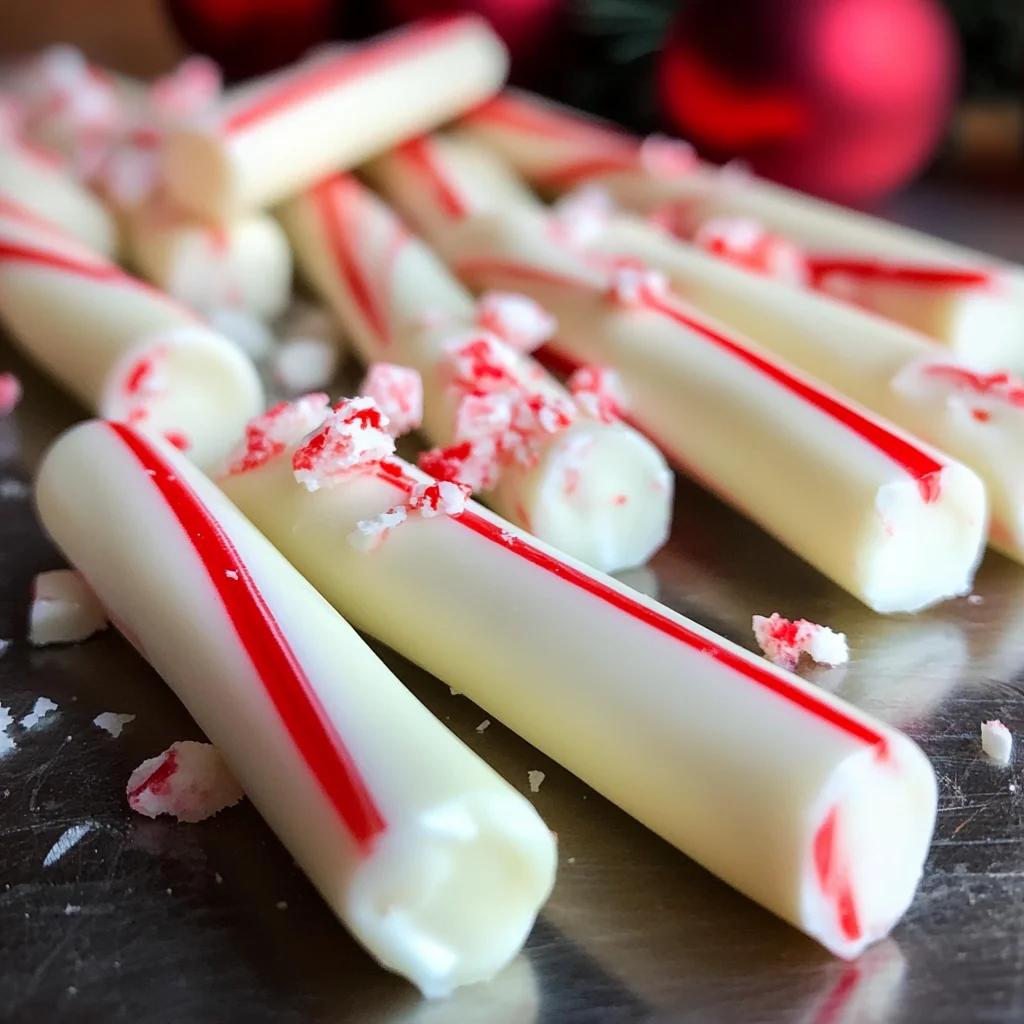
Homemade Christmas Peppermint Sticks
Homemade Christmas Peppermint Sticks are a delightful treat that adds a festive touch to any occasion. These sweet, minty delights are perfect for holiday gatherings, gift-giving, or simply enjoying at home. Easy to make and visually appealing, they stand out with their vibrant colors and delicious flavors. This recipe is not only simple but also versatile, allowing you to customize them to your taste.
Why You’ll Love This Recipe
- Quick Preparation: With just 10 minutes of prep time, you can whip up these peppermint sticks in no time.
- Delicious Flavor: The combination of white chocolate and peppermint essence creates a sweet and refreshing taste.
- Versatile Treat: Enjoy them as snacks, use them for decorating desserts, or give them as gifts.
- Festive Appeal: Their colorful appearance makes these peppermint sticks a perfect addition to your holiday celebrations.
- Fun Activity: Making these treats can be a fun family activity that everyone will enjoy.
Tools and Preparation
Before you start making your Homemade Christmas Peppermint Sticks, gather the essential tools. Having everything ready will make the process smoother and more enjoyable.
Essential Tools and Equipment
- Double boiler or microwave-safe bowl
- Baking sheet
- Parchment paper
- Spatula
Importance of Each Tool
- Double boiler or microwave-safe bowl: This is crucial for melting the chocolate evenly without burning it.
- Baking sheet: A flat surface is necessary for setting your finished peppermint sticks as they cool.
- Parchment paper: It prevents sticking and makes cleanup easier after preparing your treats.
Ingredients
For the Peppermint Sticks
- 1 package of candy canes (12 pieces)
- 12 ounces of white chocolate
- 1 teaspoon peppermint essence
Servings: 4
Prep Time: 10 minutes
Cook Time: 10 minutes
Total Time: 70 minutes
How to Make Homemade Christmas Peppermint Sticks
Step 1: Prepare Your Workspace
Start by lining a baking sheet with parchment paper. This will be where you place your freshly dipped peppermint sticks.
Step 2: Melt the White Chocolate
Using a double boiler or microwave-safe bowl:
1. If using a double boiler, fill the bottom pot with water and bring it to a gentle simmer. Place the white chocolate in the top pot until melted, stirring occasionally.
2. If using a microwave, heat the white chocolate in short bursts (30 seconds), stirring between each until smooth.
Step 3: Add Peppermint Essence
Once the chocolate is melted, stir in the peppermint essence until well combined. This adds that perfect minty flavor to your Homemade Christmas Peppermint Sticks.
Step 4: Dip the Candy Canes
- Hold each candy cane by its curved end.
- Dip it into the melted white chocolate, ensuring it’s well-coated.
- Allow excess chocolate to drip back into the bowl before placing it on the prepared baking sheet.
Step 5: Cool and Set
Place the dipped candy canes in the refrigerator for about an hour or until the chocolate hardens completely.
Enjoy your Homemade Christmas Peppermint Sticks as they bring sweetness to your holiday season!
How to Serve Homemade Christmas Peppermint Sticks
Serving your Homemade Christmas Peppermint Sticks can elevate your holiday gatherings and make them even more festive. Here are some fun ideas to enjoy these delightful treats.
On a Festive Platter
- Arrange your peppermint sticks on a colorful platter with other holiday sweets like cookies and chocolate-covered pretzels for an eye-catching display.
As Gift Treats
- Wrap individual peppermint sticks in cellophane bags tied with ribbons. These make charming gifts for friends, family, or coworkers during the holidays.
In Hot Chocolate
- Stir a peppermint stick into a mug of hot chocolate. The chocolate melts, adding a delicious minty flavor to your drink—perfect for cozy winter evenings.
As Ice Cream Toppers
- Crumble some peppermint sticks over vanilla or chocolate ice cream. This adds crunch and a refreshing minty taste that complements creamy desserts.
How to Perfect Homemade Christmas Peppermint Sticks
To ensure your Homemade Christmas Peppermint Sticks are perfect every time, consider these helpful tips.
-
Use high-quality chocolate – Opt for good quality white chocolate to enhance the flavor of your peppermint sticks.
-
Crush candy canes finely – Make sure to crush your candy canes into small pieces for an even distribution of minty goodness.
-
Chill properly – Allow the melted chocolate to set in the refrigerator for the best texture and firmness.
-
Experiment with flavors – Try adding different essences like vanilla or almond alongside the peppermint for a unique twist.
Best Side Dishes for Homemade Christmas Peppermint Sticks
Pairing side dishes with your Homemade Christmas Peppermint Sticks can create an all-around festive experience. Here are some tasty options to consider.
- Gingerbread Cookies – Classic holiday treats that complement the minty flavor of peppermint sticks beautifully.
- Chocolate Fudge – Rich and creamy fudge pairs well with the crispness of peppermint, creating a delightful contrast.
- Sugar Cookies – Soft sugar cookies provide a sweet base that balances the refreshing taste of peppermint.
- Coconut Macaroons – Chewy coconut macaroons offer texture variety that complements the crunch of candy canes.
- Peppermint Bark – A double dose of peppermint! The combination of chocolate and mint will delight any sweet tooth.
- Fruitcake Bites – Mini fruitcake pieces add a fruity touch that works surprisingly well with minty flavors.
- Mini Cheesecakes – Creamy cheesecakes topped with a drizzle of chocolate harmonize perfectly with peppermint sticks.
- Pecan Pie Bars – Sweet and nutty pecan pie bars add richness to your dessert table alongside homemade peppermint treats.
Common Mistakes to Avoid
Making Homemade Christmas Peppermint Sticks can be a delightful experience. However, there are some mistakes to be aware of.
- Using the wrong chocolate: Always select high-quality white chocolate for melting. Cheap chocolate can seize up and ruin your peppermint sticks.
- Not cooling properly: Ensure the melted chocolate cools slightly before dipping your candy canes. This prevents the chocolate from sliding off.
- Ignoring peppermint essence measurement: Too much peppermint essence can overpower the flavor. Stick to 1 teaspoon for balanced taste.
- Forgetting about storage: Store your peppermint sticks in an airtight container. This helps maintain freshness and flavor over time.
- Rushing the process: Allow enough time for your candy canes to set after dipping. Patience is key to achieving that perfect texture.
Storage & Reheating Instructions
Refrigerator Storage
- Keep your Homemade Christmas Peppermint Sticks in an airtight container.
- They will last for up to 2 weeks in the refrigerator.
Freezing Homemade Christmas Peppermint Sticks
- You can freeze them for longer storage, up to 3 months.
- Wrap each stick in plastic wrap and place them in a freezer-safe container.
Reheating Homemade Christmas Peppermint Sticks
- Oven: Preheat your oven to 200°F (93°C) and place the sticks on a baking sheet for about 5 minutes.
- Microwave: Heat in 10-second intervals on low power, checking frequently until warm.
- Stovetop: Use a double boiler on low heat, stirring gently until warmed through.
Frequently Asked Questions
What are Homemade Christmas Peppermint Sticks?
Homemade Christmas Peppermint Sticks are festive treats made by dipping candy canes in melted white chocolate flavored with peppermint essence.
How long does it take to make Homemade Christmas Peppermint Sticks?
The total time is about 70 minutes, including preparation and setting time.
Can I customize my Homemade Christmas Peppermint Sticks?
Absolutely! You can add toppings like crushed nuts or sprinkles to make them unique.
How should I store leftover Homemade Christmas Peppermint Sticks?
Store them in an airtight container at room temperature or refrigerate them for longer freshness.
Final Thoughts
These Homemade Christmas Peppermint Sticks are not only delicious but also versatile. They make perfect gifts or festive decorations. Feel free to customize them with different flavors or toppings to suit your taste!
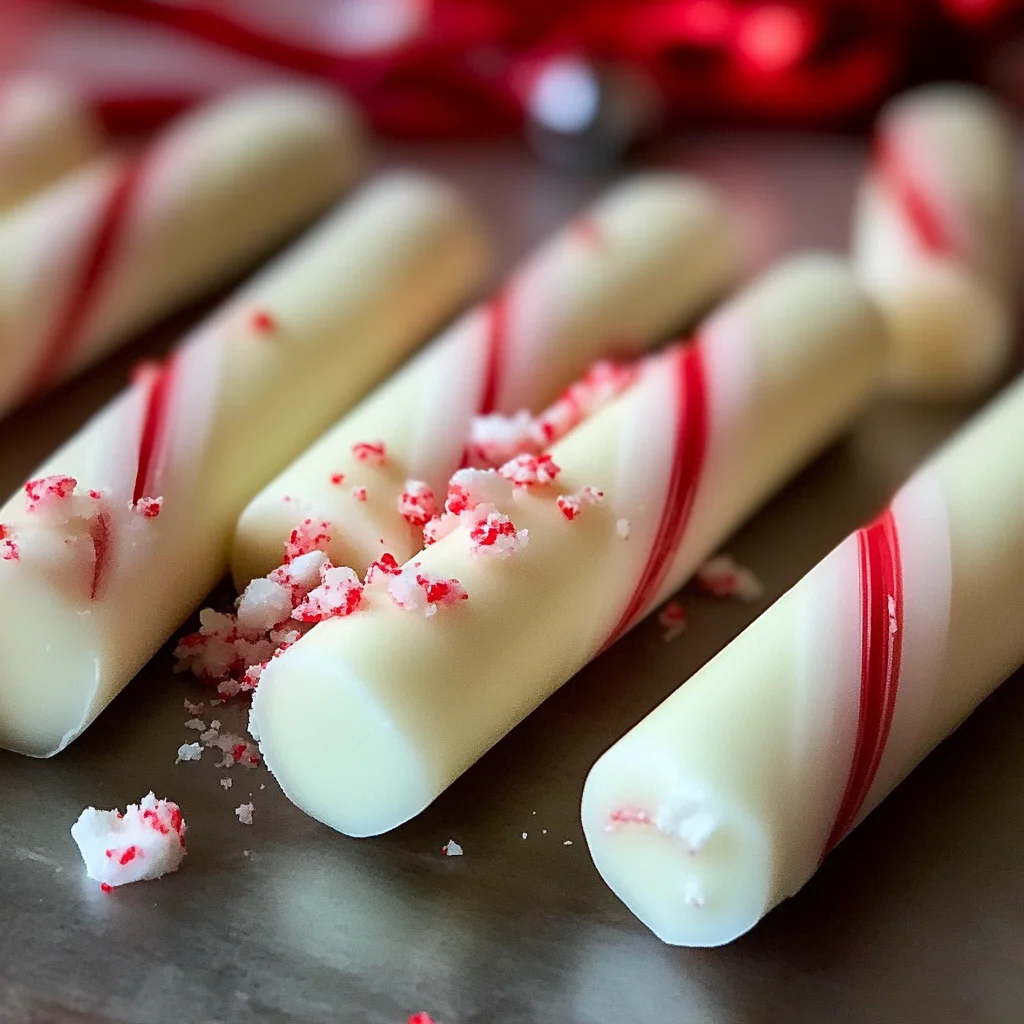
Homemade Christmas Peppermint Sticks
Homemade Christmas Peppermint Sticks are a charming and festive treat that brings holiday cheer to any gathering. These delightful candy canes dipped in creamy white chocolate and infused with refreshing peppermint essence are perfect for snacking, gifting, or decorating your desserts. With just a few simple ingredients and minimal prep time, you can create these sweet minty delights that are sure to impress friends and family. Their vibrant colors and classic flavors make them an ideal addition to your holiday celebrations, while also providing a fun activity for the whole family to enjoy together.
- Prep Time: 10 minutes
- Cook Time: 10 minutes
- Total Time: 20 minutes
- Yield: 4 servings 1x
- Category: Dessert
- Method: No-Bake
- Cuisine: American
Ingredients
- 1 package of candy canes (12 pieces)
- 12 ounces of white chocolate
- 1 teaspoon peppermint essence
Instructions
- Line a baking sheet with parchment paper.
- Melt white chocolate using a double boiler or microwave until smooth.
- Stir in peppermint essence until well combined.
- Dip each candy cane into the melted chocolate, allowing excess to drip off, then place on the prepared baking sheet.
- Refrigerate for about an hour until the chocolate hardens completely.
Nutrition
- Serving Size: 1 serving
- Calories: 210
- Sugar: 25g
- Sodium: 30mg
- Fat: 10g
- Saturated Fat: 6g
- Unsaturated Fat: 4g
- Trans Fat: 0g
- Carbohydrates: 30g
- Fiber: 0g
- Protein: 2g
- Cholesterol: 0mg