No Bake Peanut Butter Oat Cups
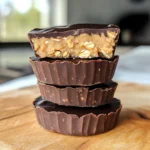
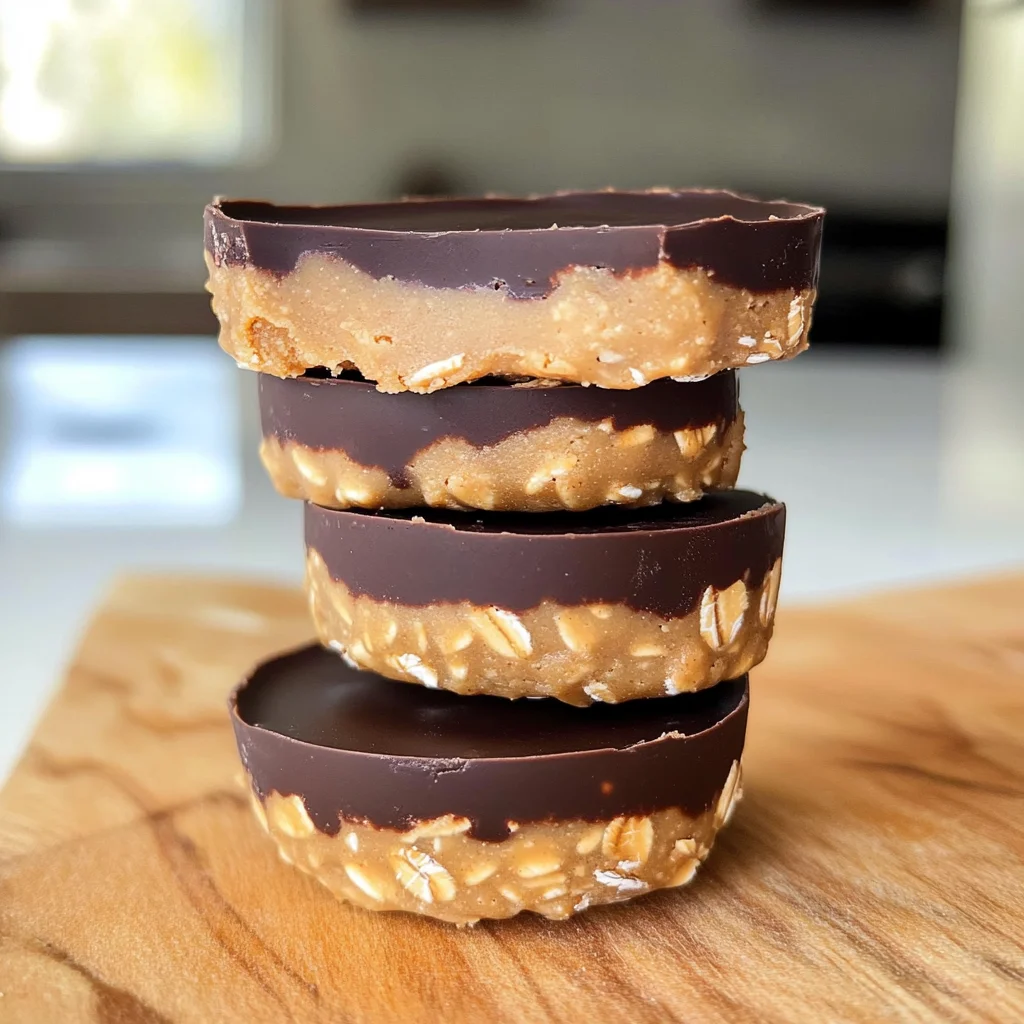
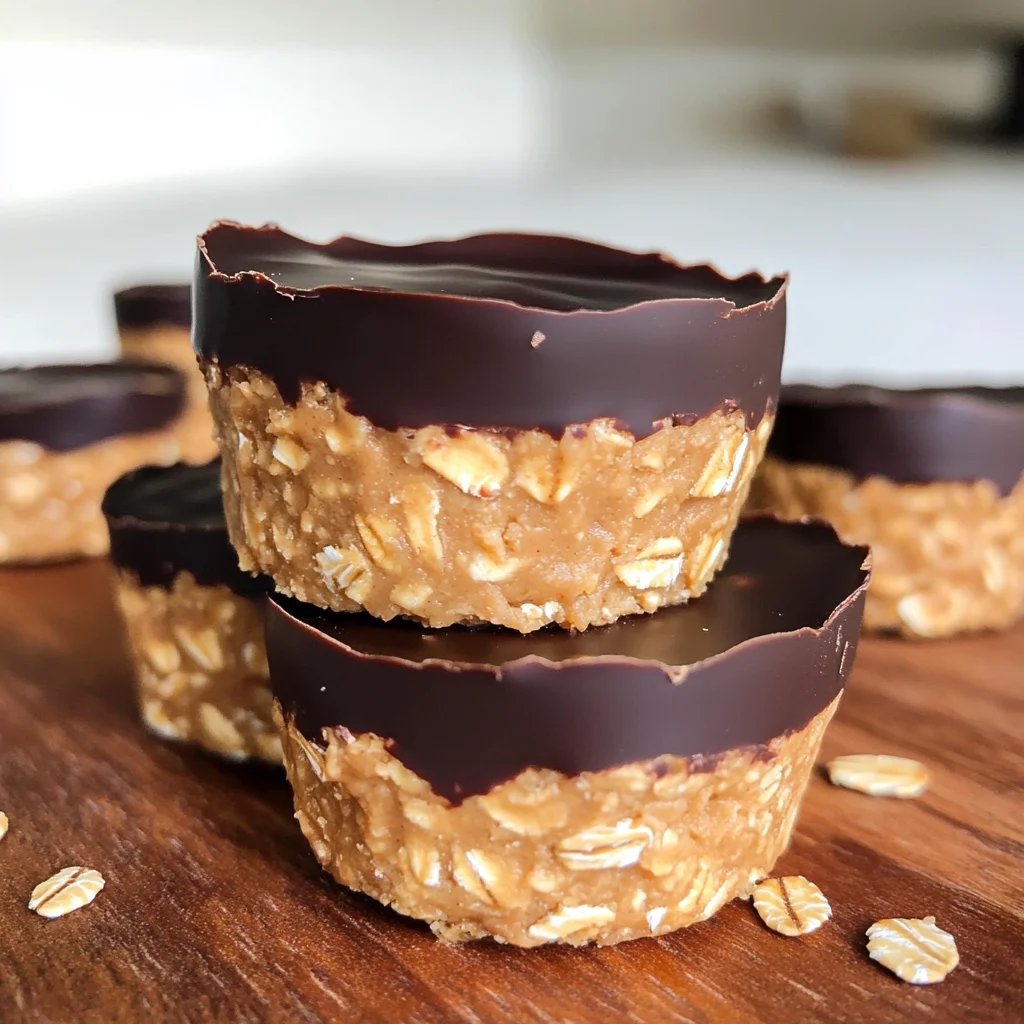
No Bake Peanut Butter Oat Cups are a delightful treat that combines creamy peanut butter with a crunchy oat base and a luscious chocolate topping. Perfect for snacks, desserts, or lunchbox surprises, these cups cater to everyone’s sweet cravings without any baking required. Their simplicity and deliciousness make them a go-to recipe your family will adore.
Why You’ll Love This Recipe
- Quick and Easy: These cups come together in just 10 minutes of prep time, making them perfect for busy days or last-minute cravings.
- No-Bake Delight: Enjoy the goodness of peanut butter and chocolate without turning on the oven. Ideal for warm weather!
- Customizable Ingredients: Feel free to add your favorite mix-ins like nuts or dried fruits to personalize each cup.
- Healthy Snack Option: Packed with oats and peanut butter, these cups provide energy while satisfying your sweet tooth.
- Kid-Friendly: Children will love helping to make these treats, making them a fun family activity.
Tools and Preparation
Preparing No Bake Peanut Butter Oat Cups requires only a few simple tools. Having the right equipment will help ensure success with this easy recipe.
Essential Tools and Equipment
- Microwave-safe bowl
- Silicone muffin pan or cupcake liners
- Mixing spoon
- Food processor (optional for oat flour)
Importance of Each Tool
- Microwave-safe bowl: Perfect for melting ingredients quickly and safely.
- Silicone muffin pan: Makes removing the cups effortless, ensuring they maintain their shape.
- Mixing spoon: Essential for combining ingredients thoroughly without creating a mess.
Ingredients
A creamy peanut butter oat layer topped with melted chocolate to make a tasty peanut butter chocolate treat that your whole family will love.
For the Base
- 1.5 cups peanut butter
- 1.5 cups oat flour (Rolled oats processed finely in a food processor)
- 1/4 cup maple syrup
For the Topping
- 1 cup chocolate chips
- 1 tsp coconut oil (optional)
How to Make No Bake Peanut Butter Oat Cups
Step 1: Combine Peanut Butter and Maple Syrup
- Add your peanut butter and maple syrup to a medium-sized microwave-safe bowl.
- Microwave for 40-60 seconds.
- Stir thoroughly until the mixture is completely combined.
Step 2: Mix in Oat Flour
- Slowly add the oat flour into the bowl.
- Mix well until fully incorporated; it should be thick but moldable.
- If too dry, add more maple syrup or peanut butter one teaspoon at a time.
Step 3: Prepare Muffin Pan
- Line a muffin pan with cupcake liners or use a silicone muffin pan for easy removal.
- Note that these cups may be difficult to remove from traditional muffin pans without liners.
Step 4: Fill Muffin Pan
- Scoop the peanut butter oat mixture evenly into each muffin hole.
- Press down firmly with your fingers to compact it.
Step 5: Melt Chocolate Topping
- In a microwave-safe small bowl, combine chocolate chips and coconut oil.
- Heat in 30-second increments until melted and smooth, stirring between sessions.
Step 6: Add Chocolate Layer
- Pour melted chocolate into each filled muffin hole.
- Smooth the top using the back of a spoon.
- Optional: Sprinkle flaky salt, sprinkles, or mini chocolate chips on top before it hardens.
Step 7: Refrigerate and Serve
- Refrigerate for 2-3 hours until set completely.
- Carefully remove from the muffin pan or silicone molds.
- Store in an airtight container in the refrigerator for up to 5 days for best freshness.
Enjoy these delightful No Bake Peanut Butter Oat Cups as a sweet snack or dessert!
How to Serve No Bake Peanut Butter Oat Cups
These No Bake Peanut Butter Oat Cups are versatile treats that can be enjoyed in various ways. Here are some delicious serving suggestions to enhance your experience.
With Fresh Fruit
- Add slices of banana or strawberries on top for a refreshing contrast to the creamy cups.
- Serve alongside a bowl of mixed berries for a colorful and nutritious accompaniment.
As a Breakfast Option
- Pair with yogurt for a balanced breakfast that will keep you full throughout the morning.
- Crumble them over oatmeal or smoothie bowls for added texture and flavor.
For Dessert
- Drizzle with additional peanut butter or melted chocolate for an indulgent touch.
- Serve with a scoop of dairy-free ice cream to create a delightful dessert combo.
At Parties
- Cut into smaller bite-sized pieces for easy snacking at gatherings or potlucks.
- Present on a platter garnished with nuts or coconut flakes for an attractive display.
How to Perfect No Bake Peanut Butter Oat Cups
To ensure your No Bake Peanut Butter Oat Cups turn out perfectly every time, consider these helpful tips.
- Use fresh ingredients: Fresh peanut butter and maple syrup will enhance the taste of your cups.
- Adjust sweetness: Taste the mixture before setting it, and add more maple syrup if you prefer a sweeter treat.
- Chill thoroughly: Allow enough time in the refrigerator to let the cups set completely; this will give them the right texture.
- Experiment with toppings: Try different toppings like crushed nuts or seeds for added crunch and nutrition.
- Store properly: Keep them in an airtight container in the fridge to maintain freshness.
Best Side Dishes for No Bake Peanut Butter Oat Cups
Complement your No Bake Peanut Butter Oat Cups with these delightful side dishes. Each option will elevate your snack or dessert experience.
- Fruit Salad: A mix of seasonal fruits provides freshness and balances the richness of the oat cups.
- Nut Mix: A combination of almonds, walnuts, and cashews adds protein and crunch, making it an excellent pairing.
- Veggie Sticks with Hummus: Crunchy carrot and cucumber sticks dipped in hummus offer a savory contrast to the sweet cups.
- Yogurt Parfait: Layer yogurt with granola and berries for a creamy, crunchy side that complements the oat cups well.
- Chia Seed Pudding: A light pudding made from chia seeds adds interesting textures alongside your treats.
- Rice Cakes: Lightly salted rice cakes provide a satisfying crunch and are great for dipping into additional peanut butter.
Common Mistakes to Avoid
Avoiding common mistakes can make your No Bake Peanut Butter Oat Cups even better. Here are some tips to keep in mind:
- Incorrect Measurements: Using too much or too little of an ingredient can affect the texture. Always measure your peanut butter and oat flour accurately for the best results.
- Not Mixing Enough: Failing to mix thoroughly can lead to uneven flavors. Ensure the mixture is fully combined before scooping it into the muffin pan.
- Skipping the Refrigeration: Not allowing the cups to set in the fridge can result in a crumbly texture. Refrigerate for at least 2-3 hours to achieve the perfect consistency.
- Using Regular Muffin Tins Without Liners: Attempting to remove the cups without liners can be messy. Always use liners or a silicone mold for easy removal.
- Overheating Chocolate: Heating chocolate too quickly can burn it. Use short intervals and stir in between to achieve smooth melted chocolate.
Storage & Reheating Instructions
Refrigerator Storage
- Store in an airtight container for up to 5 days.
- Keep them refrigerated since they contain fresh ingredients like maple syrup.
Freezing No Bake Peanut Butter Oat Cups
- Place in a freezer-safe container or bag.
- They can be frozen for up to 2 months. Thaw in the refrigerator before serving.
Reheating No Bake Peanut Butter Oat Cups
- Oven: Preheat oven to 350°F (175°C). Warm for about 5-10 minutes until just softened.
- Microwave: Heat on low power for 15-20 seconds, just enough to soften slightly.
- Stovetop: Use a double boiler method; gently warm while stirring until slightly softened.
Frequently Asked Questions
Here are some common questions about making No Bake Peanut Butter Oat Cups:
Can I substitute peanut butter with another nut butter?
You can use almond butter, cashew butter, or sunflower seed butter as alternatives.
How do I make these cups vegan-friendly?
Ensure your chocolate chips are dairy-free, and you’re all set!
What if my mixture is too dry?
If it’s too dry, add more maple syrup or peanut butter gradually until you reach the desired consistency.
Can I add extras like nuts or seeds?
Absolutely! Feel free to mix in chopped nuts, seeds, or dried fruit for added texture and flavor.
How many servings does this recipe yield?
This recipe makes about 12 servings, perfect for sharing or snacking throughout the week!
Final Thoughts
These No Bake Peanut Butter Oat Cups offer a delightful combination of flavors and textures that everyone will enjoy. They’re versatile too—add your favorite mix-ins or toppings! Give this easy recipe a try, and indulge in a healthy snack that satisfies your sweet tooth.
No Bake Peanut Butter Oat Cups
Indulge in the delightful No Bake Peanut Butter Oat Cups, a simple yet satisfying treat that blends creamy peanut butter, wholesome oats, and a rich chocolate topping without the need for baking. Perfect for a quick snack, dessert, or lunchbox surprise, these cups are not only easy to prepare but can also be customized with your favorite mix-ins. With just 10 minutes of prep time, you can create a deliciously healthy option everyone will love. Whether enjoyed as an afternoon pick-me-up or a sweet ending to dinner, these oat cups are sure to please both kids and adults alike.
- Prep Time: 10 minutes
- Cook Time: 0 minutes
- Total Time: 10 minutes
- Yield: Approximately 12 servings 1x
- Category: Dessert
- Method: No Bake
- Cuisine: American
Ingredients
- 1.5 cups peanut butter
- 1.5 cups oat flour
- 1/4 cup maple syrup
- 1 cup chocolate chips
- 1 tsp coconut oil (optional)
Instructions
- In a medium microwave-safe bowl, combine peanut butter and maple syrup. Microwave for 40-60 seconds until warm and stir until smooth.
- Gradually add oat flour to the mixture and stir well until combined; if too dry, adjust with more maple syrup or peanut butter.
- Line a muffin pan with cupcake liners or use a silicone muffin pan for easy removal.
- Evenly distribute the mixture into each muffin hole and press down firmly.
- In another bowl, melt chocolate chips with coconut oil in the microwave in short bursts until smooth.
- Pour melted chocolate over each filled muffin hole and smooth the tops as desired.
- Refrigerate for 2-3 hours until set before carefully removing from the molds.
Nutrition
- Serving Size: 1 serving
- Calories: 210
- Sugar: 8g
- Sodium: 2mg
- Fat: 12g
- Saturated Fat: 2g
- Unsaturated Fat: 10g
- Trans Fat: 0g
- Carbohydrates: 20g
- Fiber: 3g
- Protein: 6g
- Cholesterol: 0mg

